How to Run Claude Code on Your Own Server
How to run Claude Code on your own Linux server: rent a server, connect over SSH, install and sign in, and keep it running in tmux. Then the same setup on several servers with Emdash.
More and more people are moving their coding agents onto machines that stay on all the time. Like Dominik, who went from asking about an always-on Linux machine for agents to unboxing a mini PC in three days:
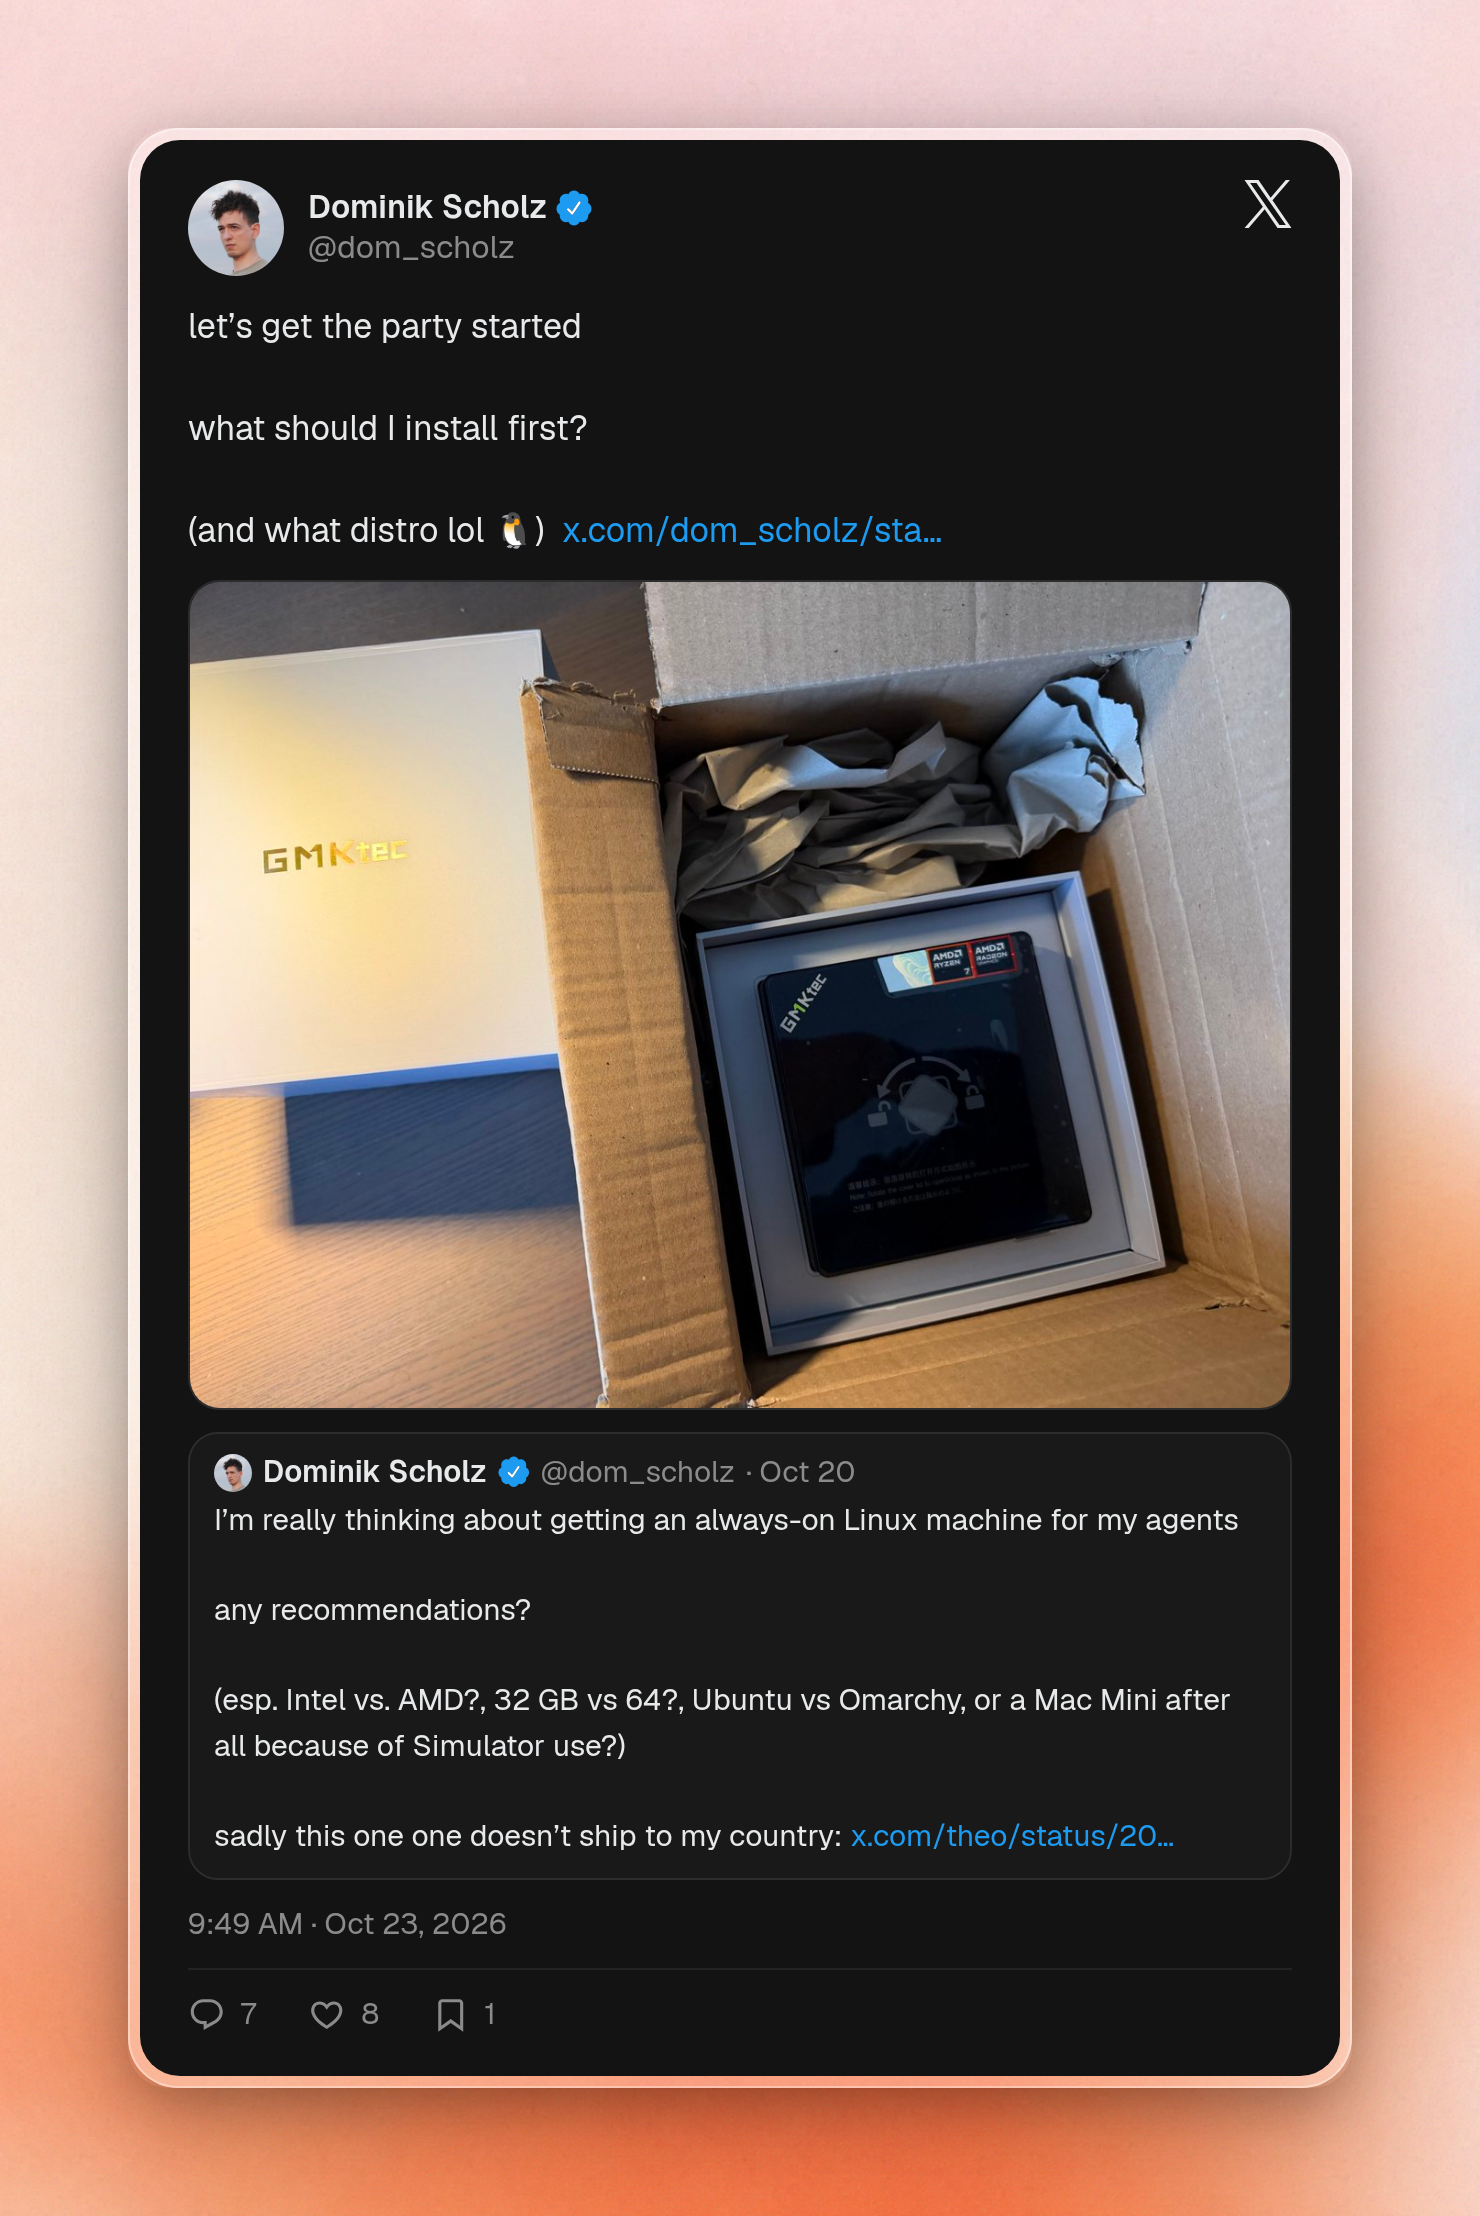
There are three advantages of running coding agents on servers rather than your laptop. First, agents don’t use your laptop’s memory or CPU, so you can run as many in parallel as your servers can handle, and add servers when you need more. On laptops, you are limited by how many agents can run on your device. Second, agents keep working when you close your laptop or go offline. Third, you can access your agents from any device, including your phone.
How do you run Claude Code on your own server?
Setting up a server for Claude Code takes four steps: rent a server, connect to it over SSH, install Claude Code, and run it inside tmux so it keeps going after you disconnect. To demo this, we'll go through each step on a fresh Hetzner server:
Rent a server
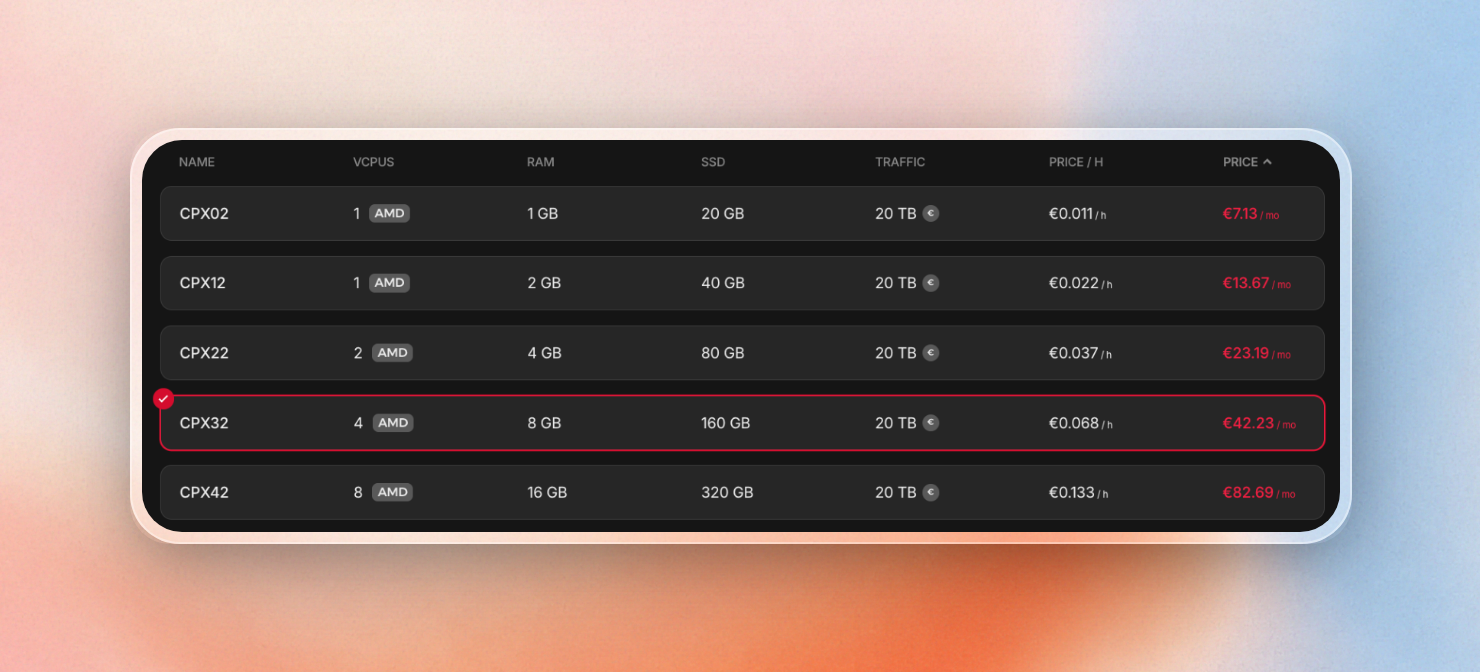
Any Linux server you can reach over SSH works. We used Hetzner Cloud and picked a CPX32 with 4 CPU cores and 8 GB of memory, which costs €0.068 an hour:
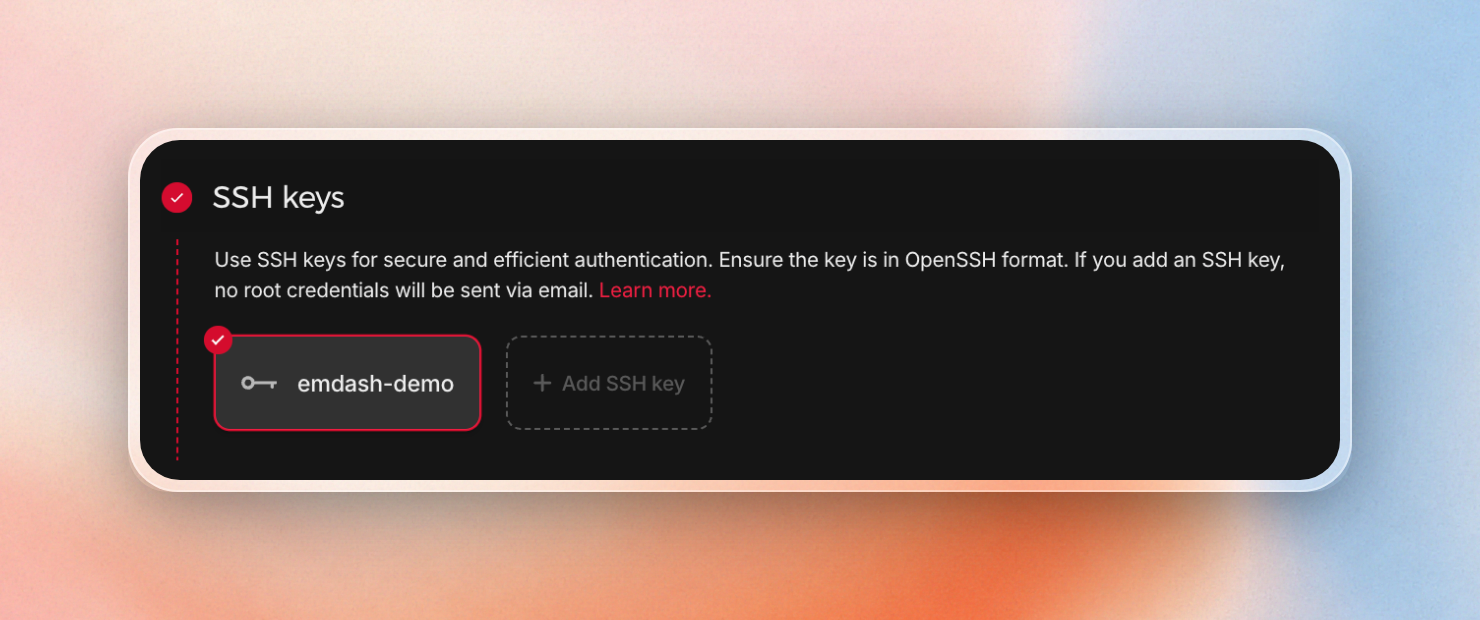
Add your laptop’s public SSH key before creating the server. Then Hetzner won’t email you a root password; you log in with the key:
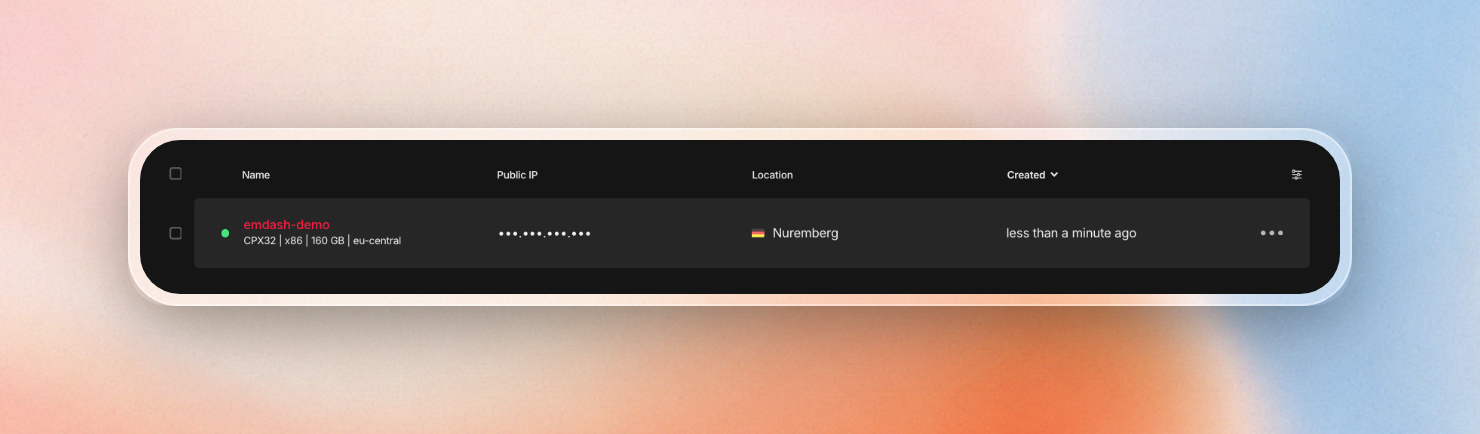
In less than a minute, the server gets its own public IP address and is up and running:
Connect and secure the server
Open a terminal on your laptop and connect as root, using the IP address Hetzner shows:
ssh root@<server-ip>Then do the standard setup for a new server. Create your own user, give it sudo rights, copy your SSH key to it, and turn on the firewall with only SSH allowed:
adduser dev
usermod -aG sudo dev
rsync --archive --chown=dev:dev ~/.ssh /home/dev
ufw allow OpenSSH
ufw enable
From now on, use ssh dev@<server-ip> to connect as this user.
Install Claude Code and sign in
Claude Code installs with one command:
curl -fsSL https://claude.ai/install.sh | bashOn a new server, the installer puts Claude Code in ~/.local/bin and asks you to add that folder to your PATH:
echo 'export PATH="$HOME/.local/bin:$PATH"' >> ~/.bashrc && source ~/.bashrcThe first time you run claude, it will ask you how you would like to sign in:
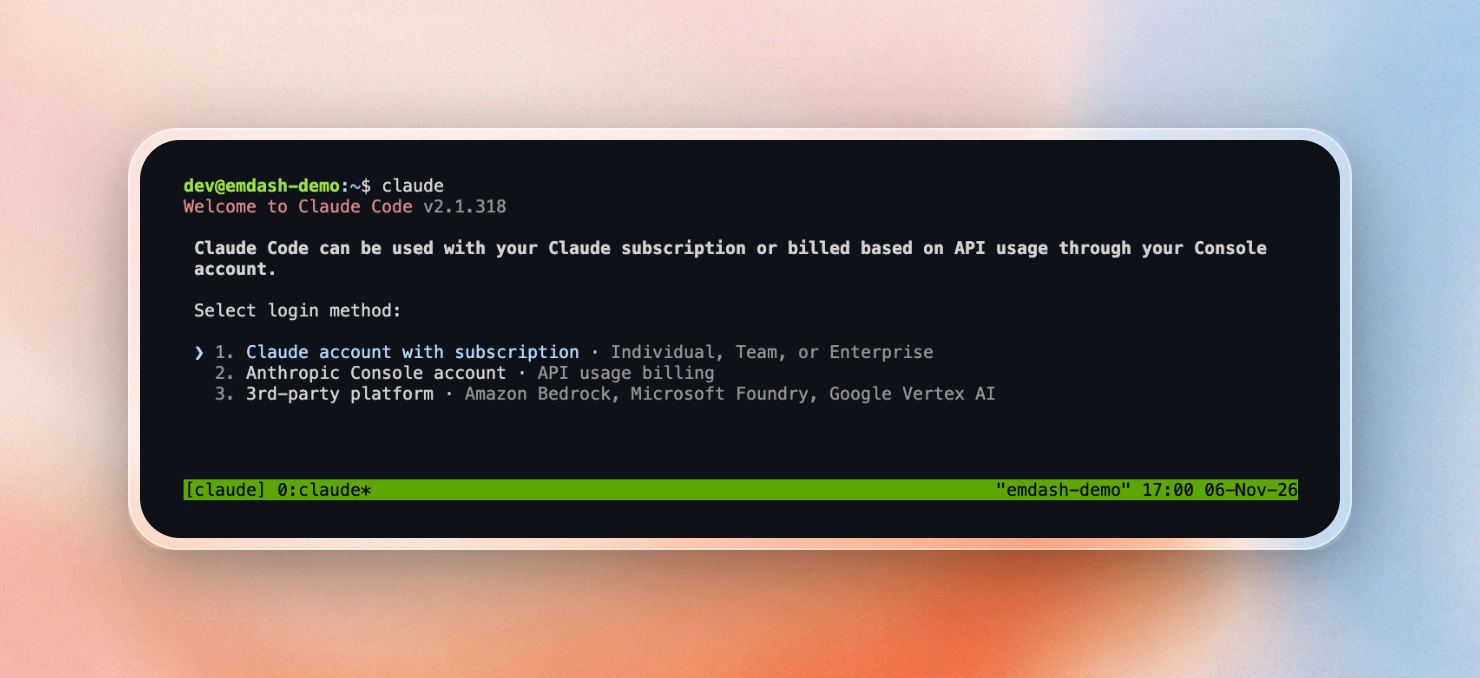
The server doesn’t have a browser, so Claude Code gives you a sign-in link. You open that on your laptop, approve it, and paste the code Claude shows you back into the terminal. (For scripts that run without you, an API key or a long-lived token also works.)
Your laptop’s rules, skills and MCP servers aren’t on the server yet. To copy your rules and skills over, run this on your laptop:
scp -r ~/.claude/CLAUDE.md ~/.claude/skills dev@<server-ip>:~/.claude/Then, on the server, add the MCP servers again.
Keep Claude Code running with tmux
When you close the SSH connection, everything you started in it stops, Claude Code included. tmux keeps a session running on the server. Ubuntu usually comes with it. But if tmux -V doesn’t print a version, install it first:
sudo apt install tmuxThen start a session and run Claude Code inside it:
tmux new -s claude
claude
Claude Code is now running on the server, in tmux:
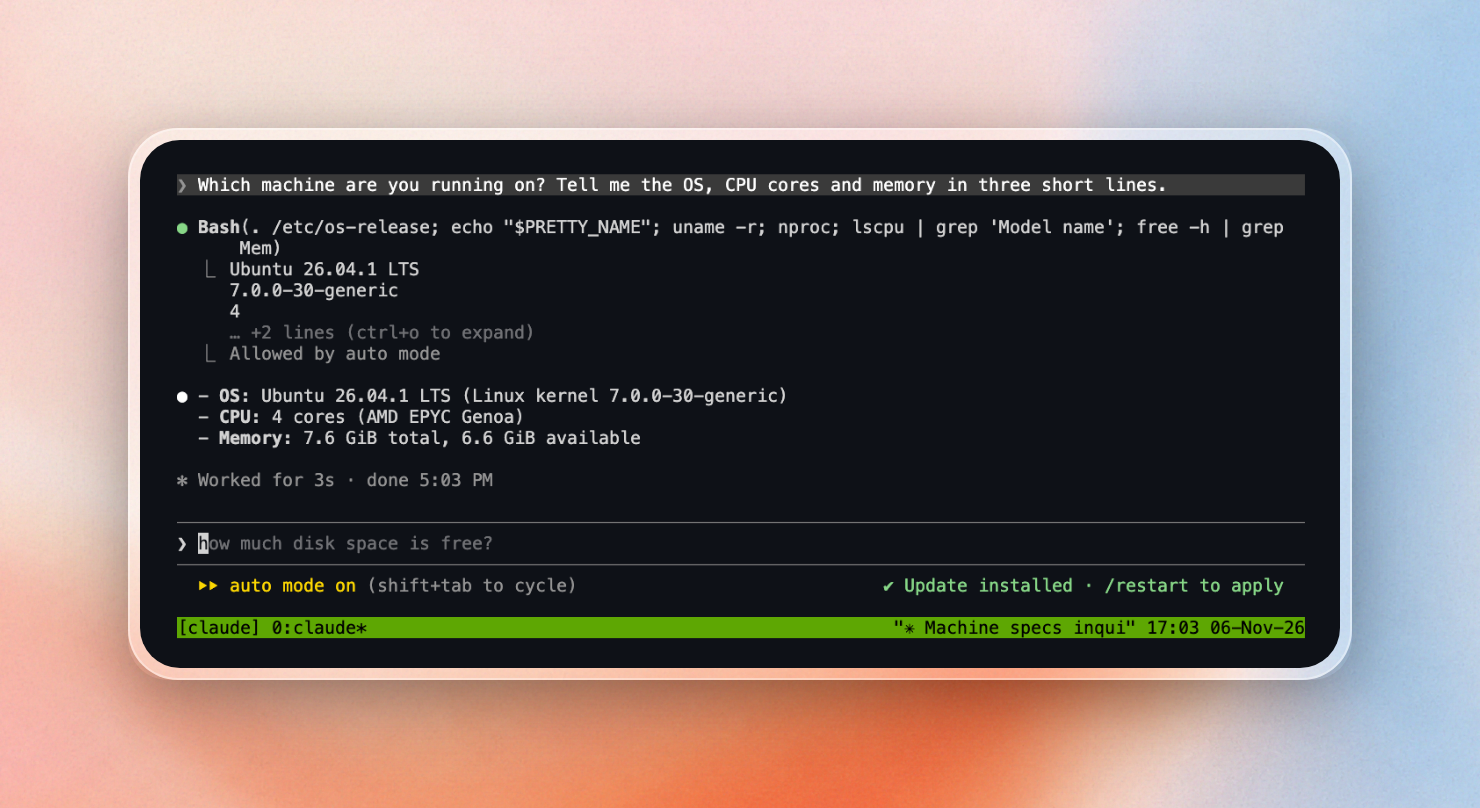
To leave Claude Code running, press Ctrl+B and then D. The next time you connect, tmux attach -t claude takes you back to the same session.
If you'd rather work in an editor than in a terminal, VS Code and Cursor can open a folder on the server over SSH.
To use OpenAI's Codex too, you repeat the install, sign-in and setup for it, because it keeps its settings in a separate folder. Anthropic also offers self-hosted environments in public beta on Team and Enterprise plans. They only run Claude Code though, so a team that also uses Codex needs a second setup.
The easiest way to run Claude Code on several servers
The setup above is great for one server, but less convenient for multiple servers. Every time you create a new server, you’ll need to connect again, re-sign in to any agent, and add your MCP servers, skills and rules once more. When working with teams, every engineer will need to do this on each server that the company provides.
Emdash is a neutral coding agent orchestration layer that lets individuals and teams run any model in any harness, such as Claude Code or Codex, on any infrastructure. This means you can run agents on your own servers, on servers your company provides, or on Emdash's servers. You sign in to your agents once, and adding a new server takes one command. Individuals will be able to use it for free with their own servers and subscriptions.
Get started in a few minutes
The whole setup took us about two minutes, from the first screen to an agent running on our server. Let's go through Emdash's onboarding together.
First, you link your existing subscription:
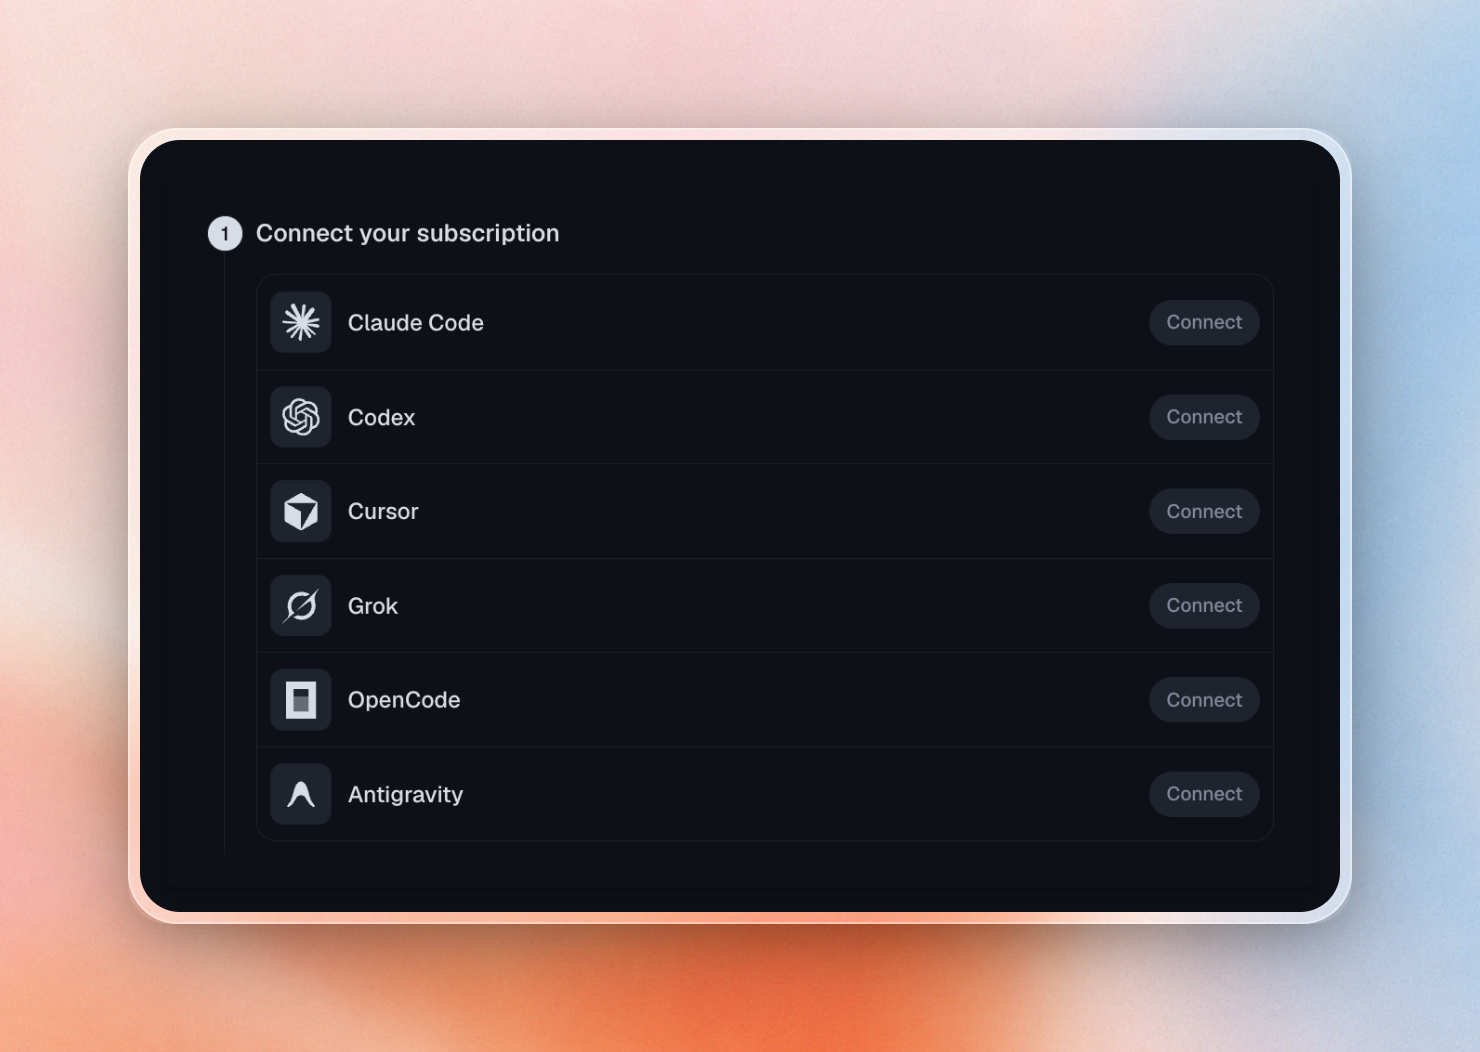
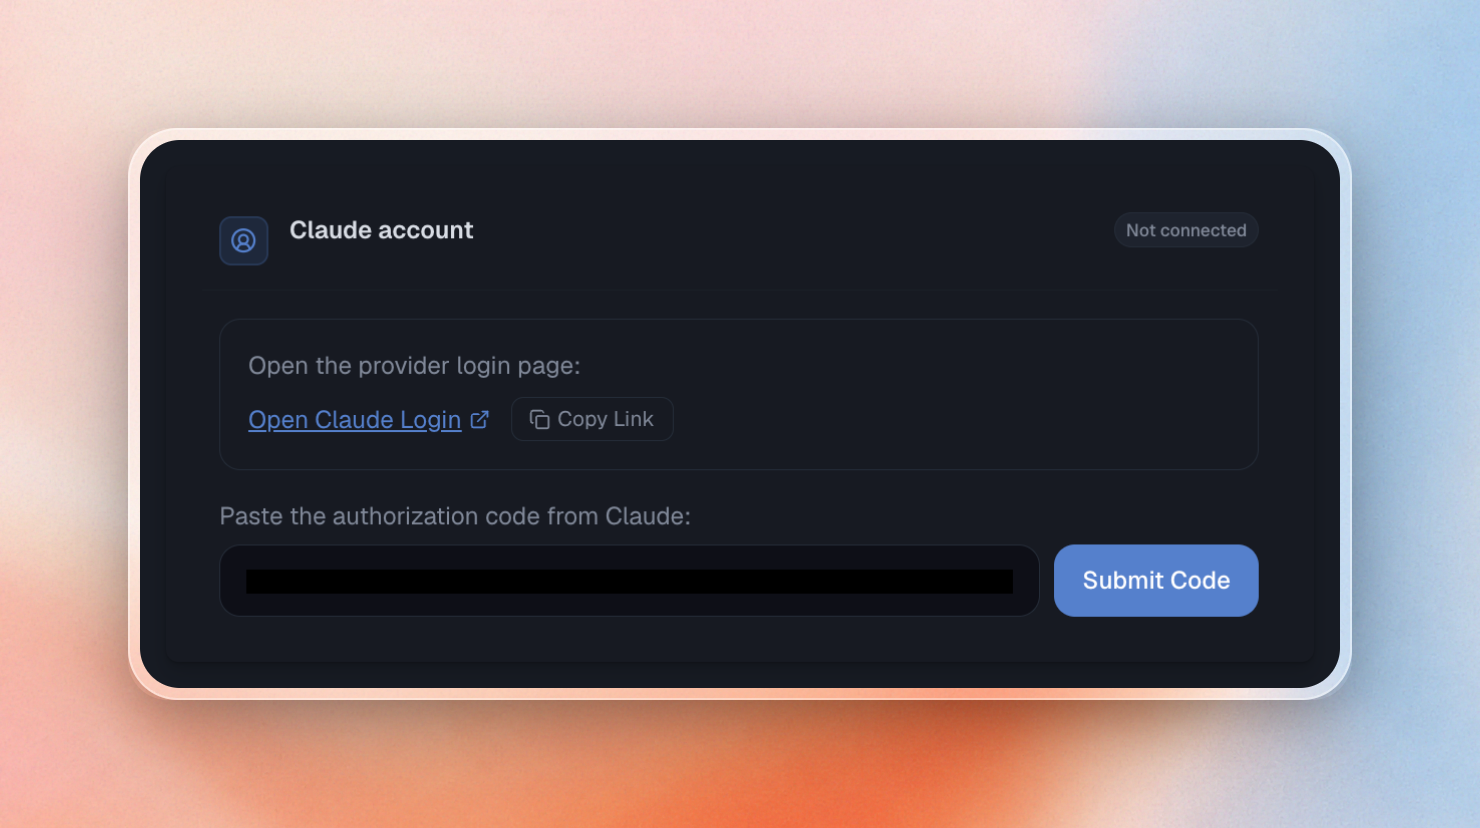
For Claude Code, you can sign in with your Claude account, then paste the code Claude shows you back into Emdash:
You can also pay for usage directly through Emdash instead of having an account with each provider. This is great for trying new models.
Second, and optionally, you connect your repositories from GitHub or GitLab, and the tools your team works with.
The last step, connecting your computers, is also optional. To use your own server, select Server or Mac mini. For our Linux server, Emdash then gives you a one-time command like this:
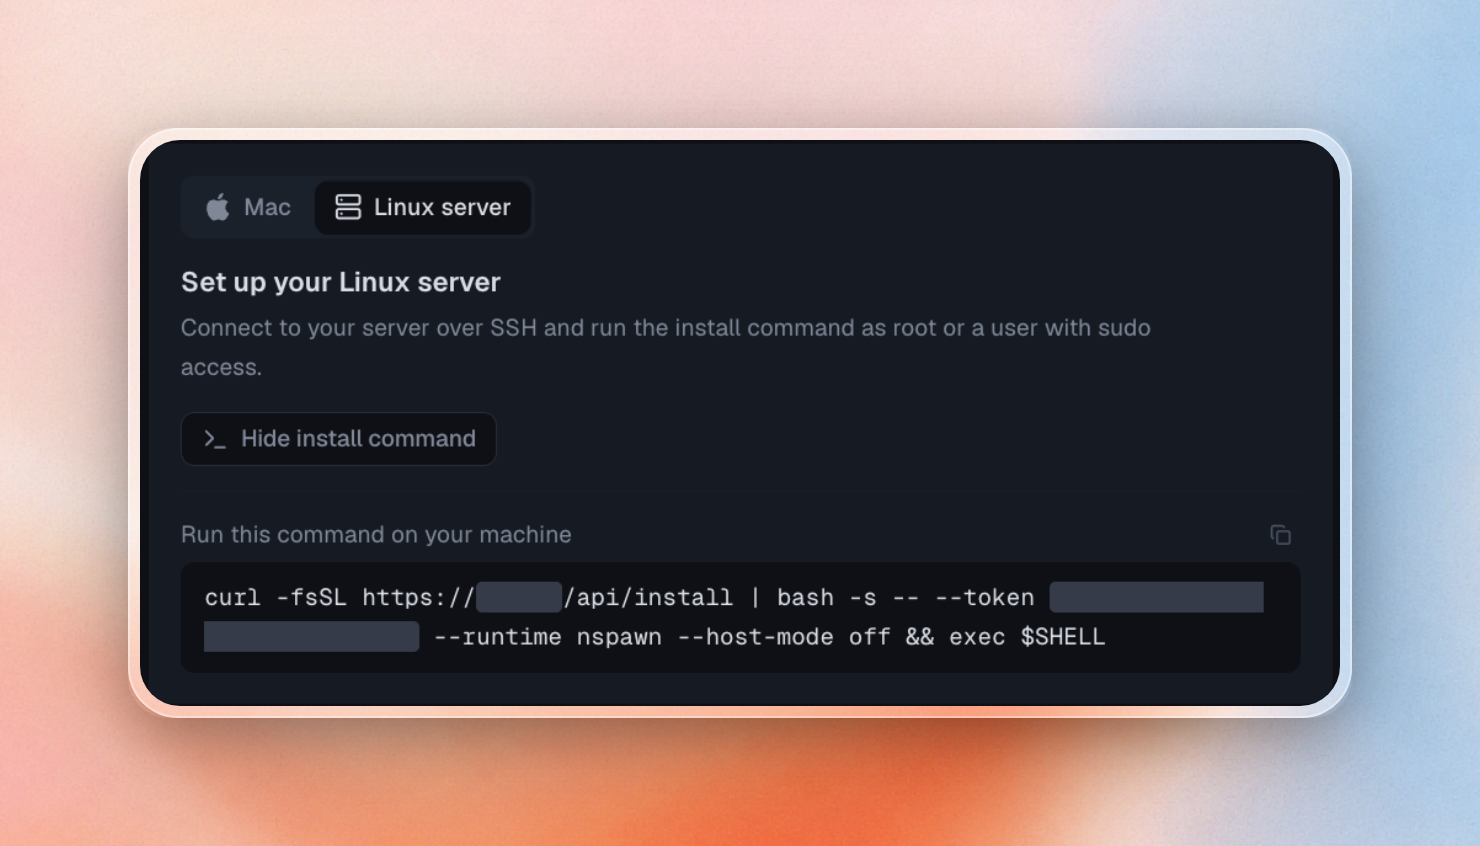
We hid the address and the token.
Now, open a terminal on your server, paste that command and go back to Emdash. We used the Hetzner server from the first part and executed that command as the dev user we created earlier. If you prefer, use a computer that is left on, like Dominik’s mini PC or a Mac mini.
Once the install completes, you’ll see the server is ready to manage in the app:
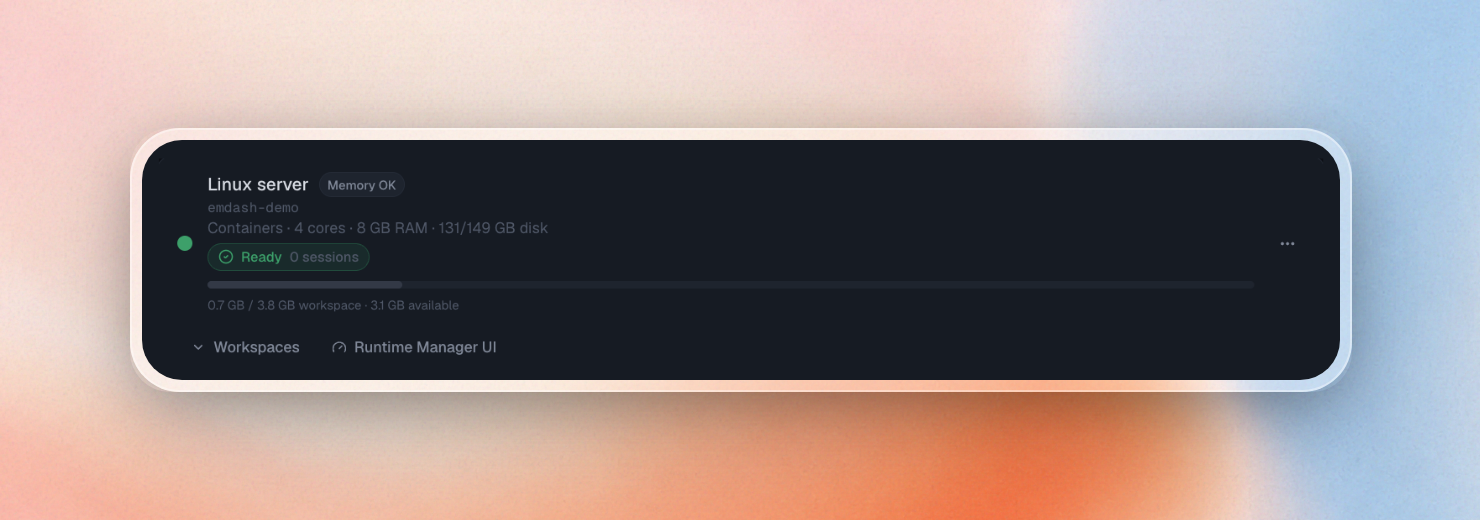
Running our first agent remotely
And that’s it. Now you can run agents on your own server, on Emdash Cloud or on your team’s servers. Start a task by selecting an agent and describing the task:
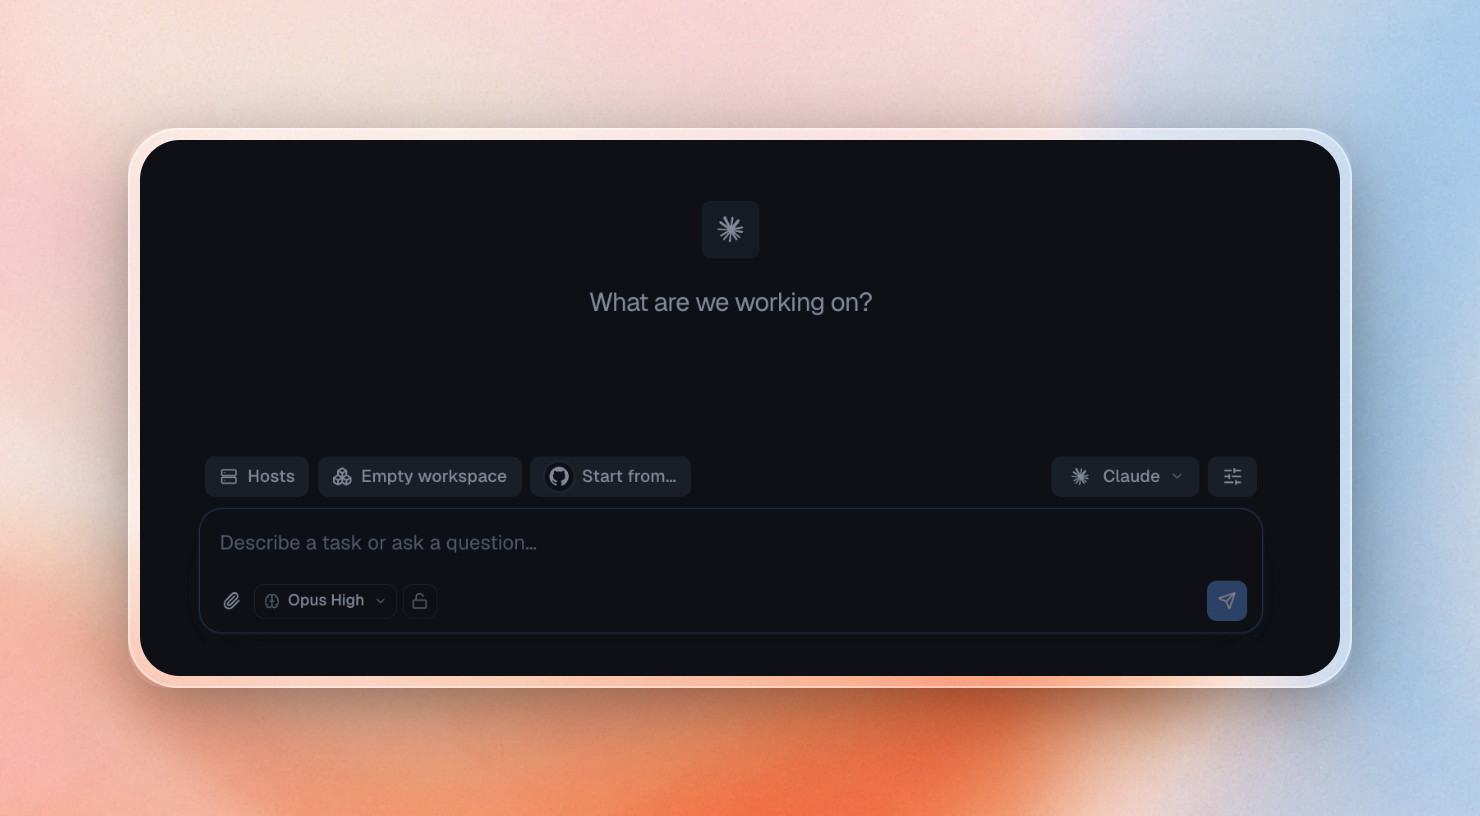
Under “Run location”, pick Hosts to run the agent on your server:
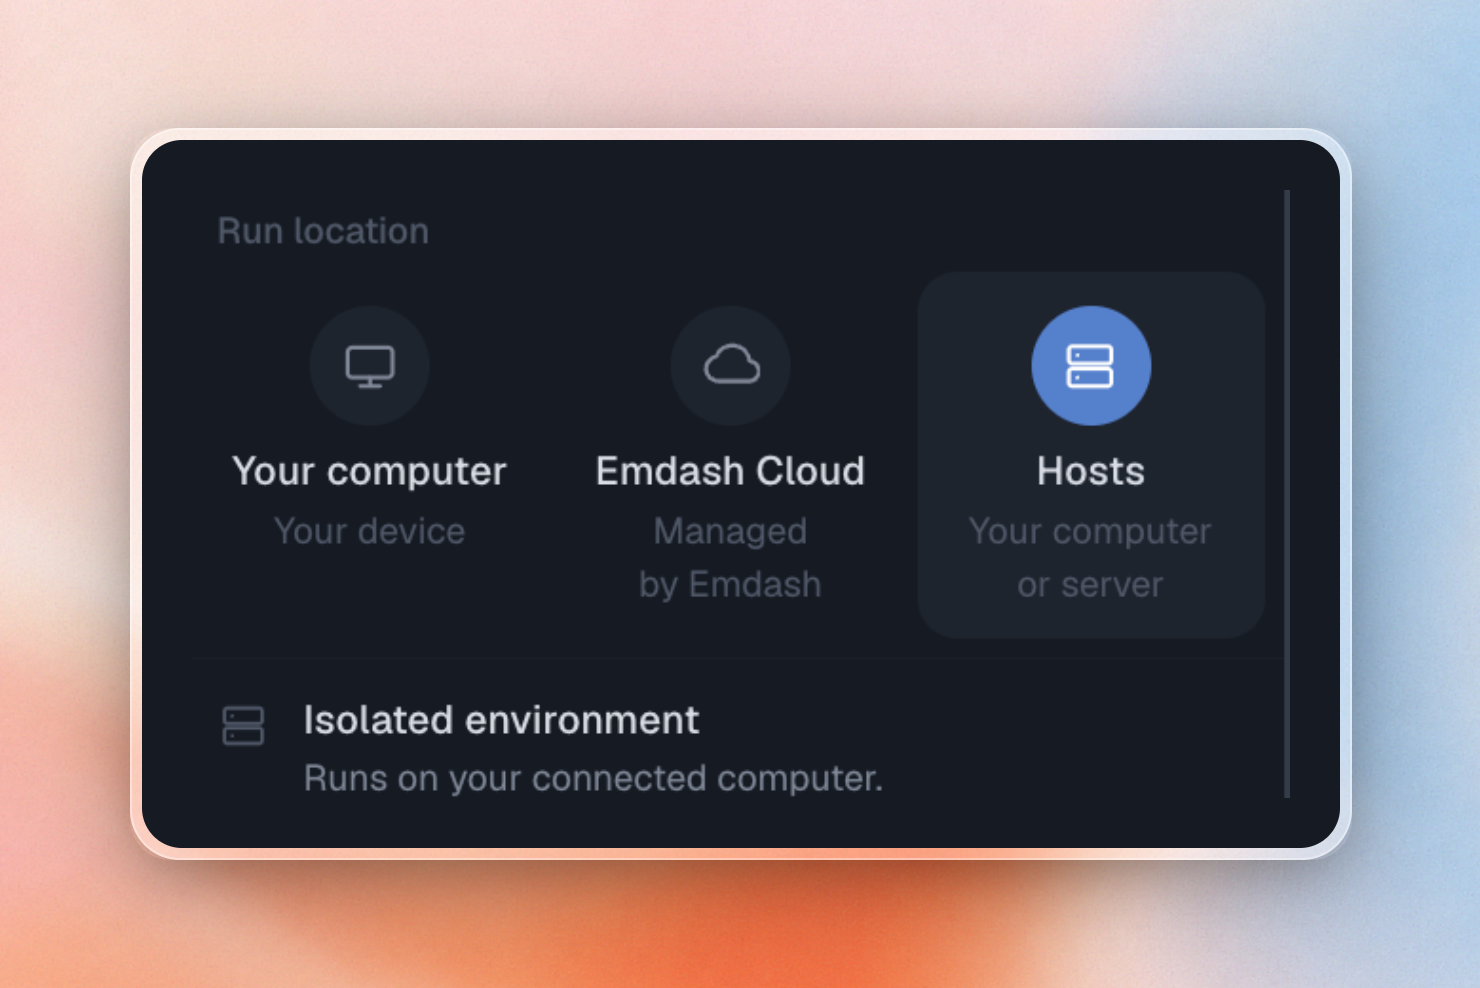
Each workspace acts as its own Linux environment (like a Docker container), meaning it can’t access the server’s folders by default. If the agent runs python and it isn’t installed, Emdash will automatically install the package on the first call.
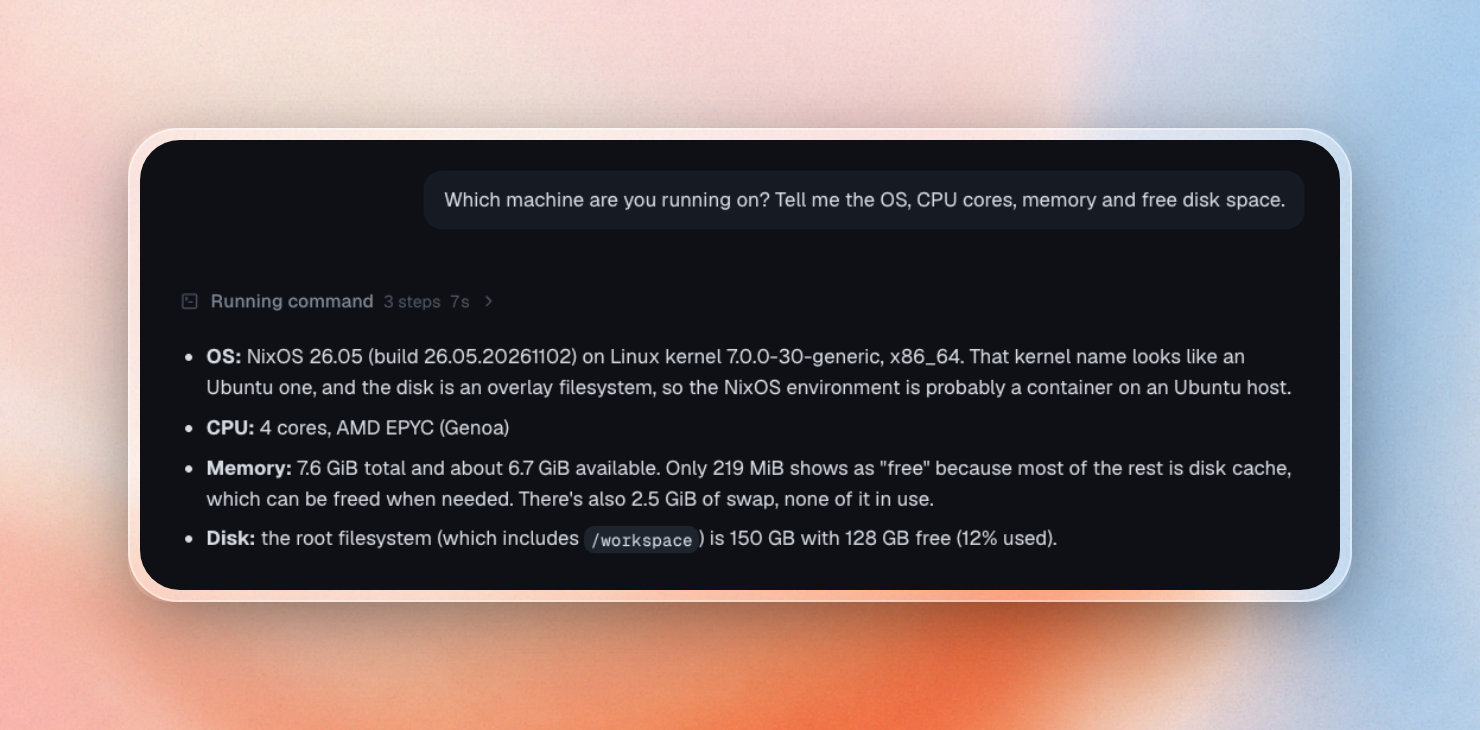
We asked Claude Code which machine it was running on, and it answered from inside the container on the Hetzner server:
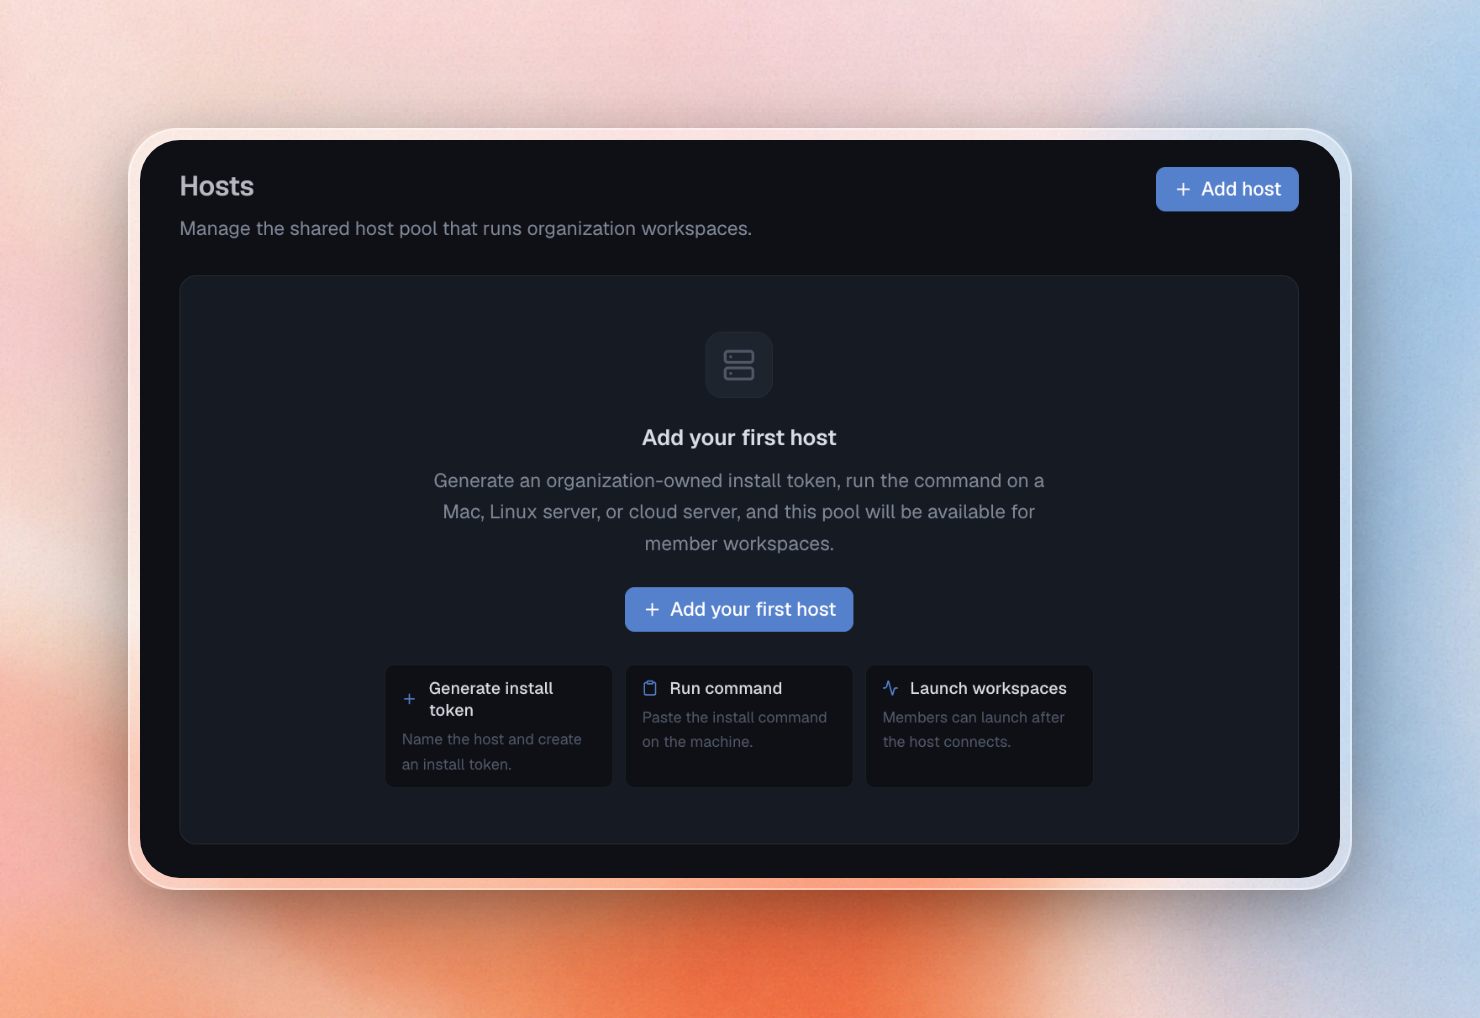
With teams, admins can add servers (e.g. Hetzner, AWS) to the organization's Hosts page so engineers can use them immediately. No server management is needed:
Add your rules, skills and MCP servers once
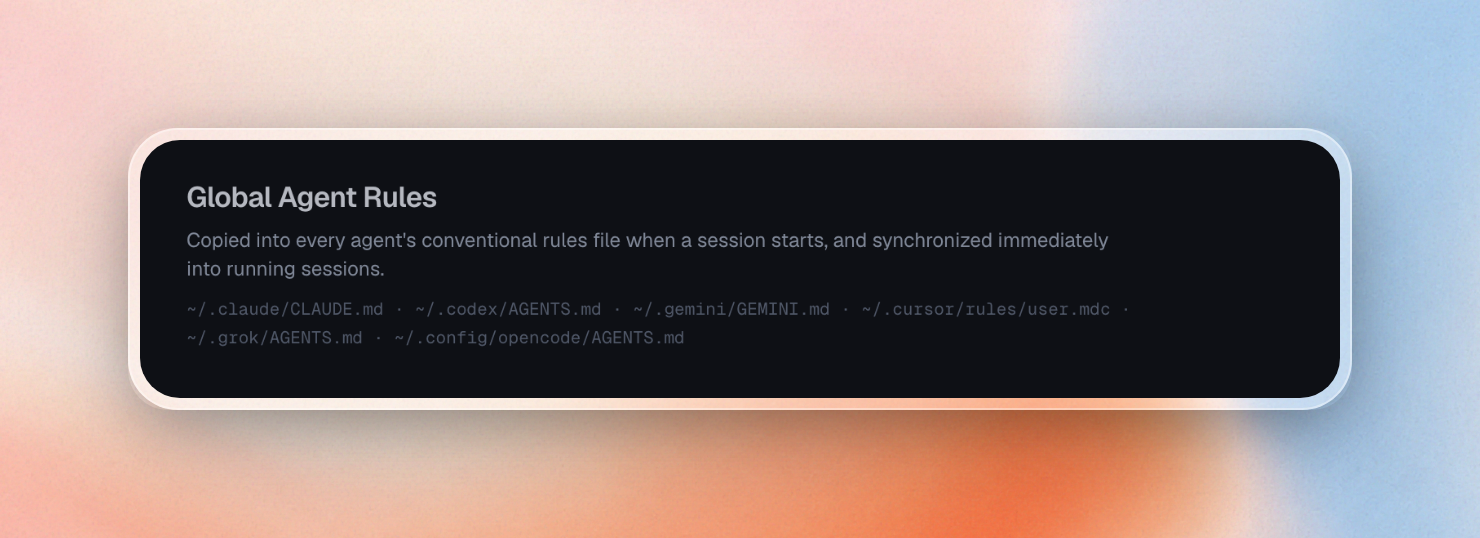
If you use several servers, Emdash saves you from repeating your setup on each one. Skills, rules and MCP servers are configured once and shared across all your coding agents. Rules are copied into each agent’s rules file on session start and automatically kept in sync while it runs:
In teams, admins can add skills and MCP servers for their organization and choose which MCP servers engineers can use. Engineers then get access to skills and MCP servers with no setup required.
Emdash is currently in early access. You can sign up on our website here.